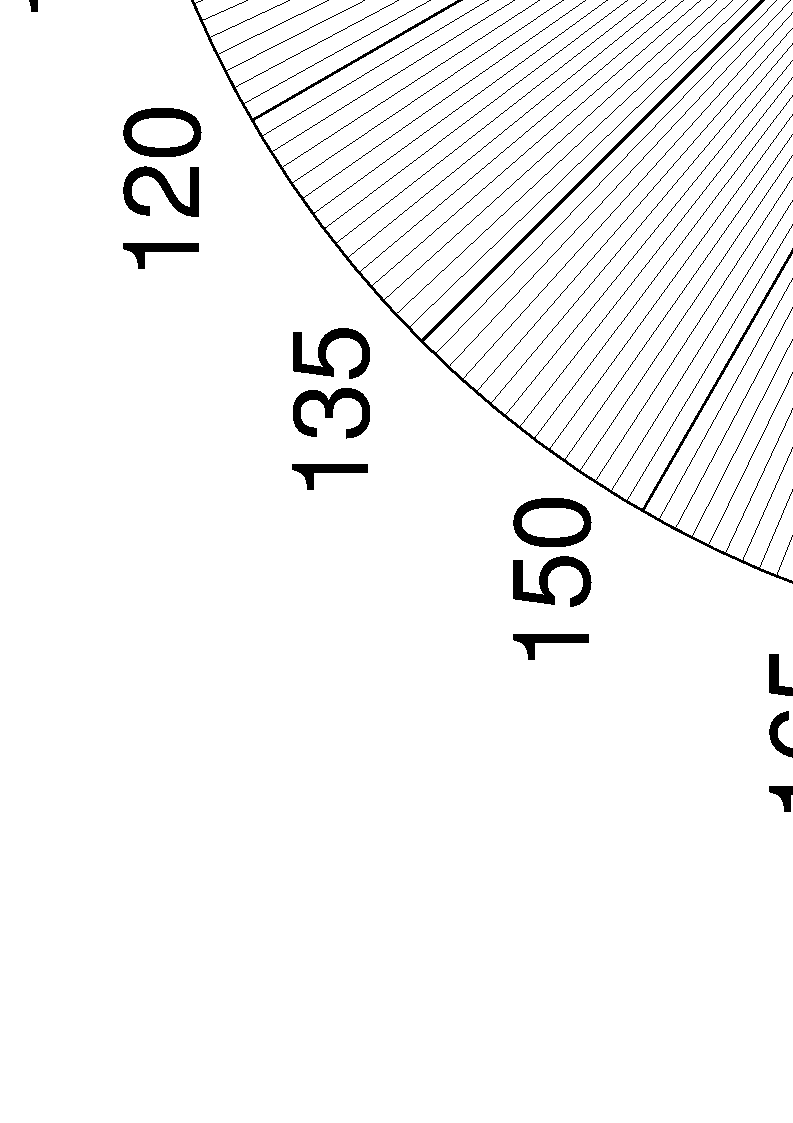
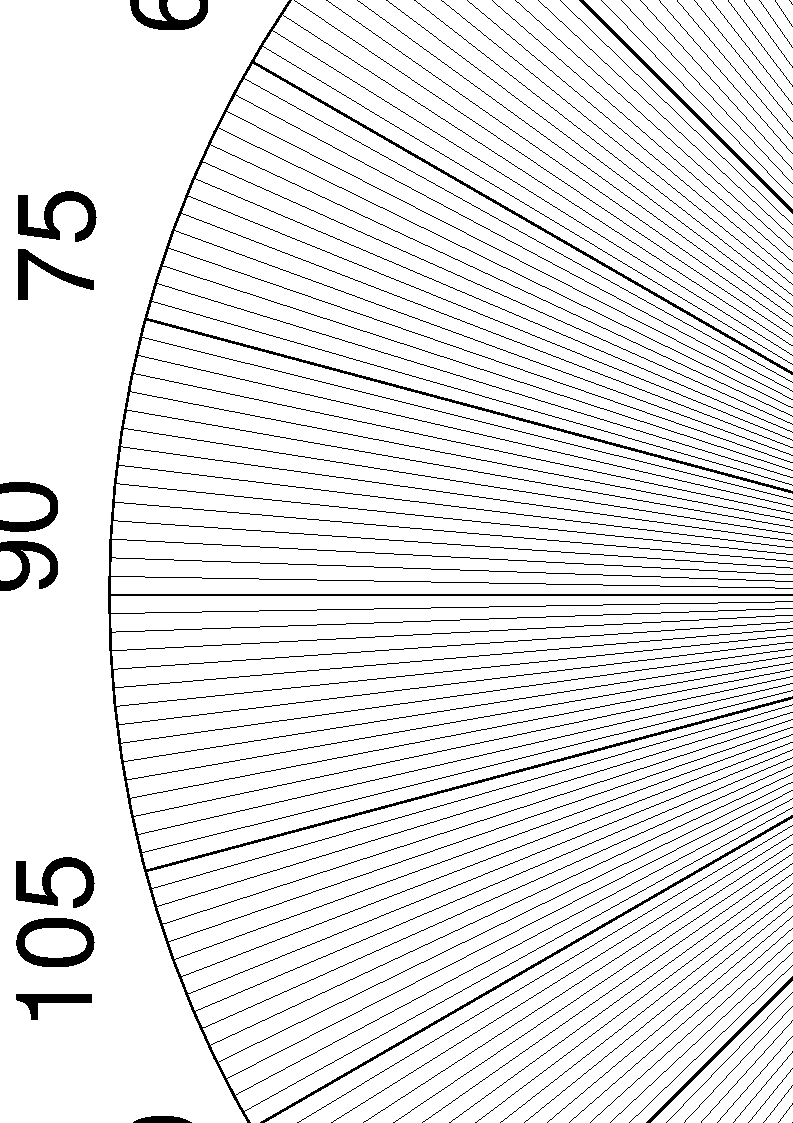
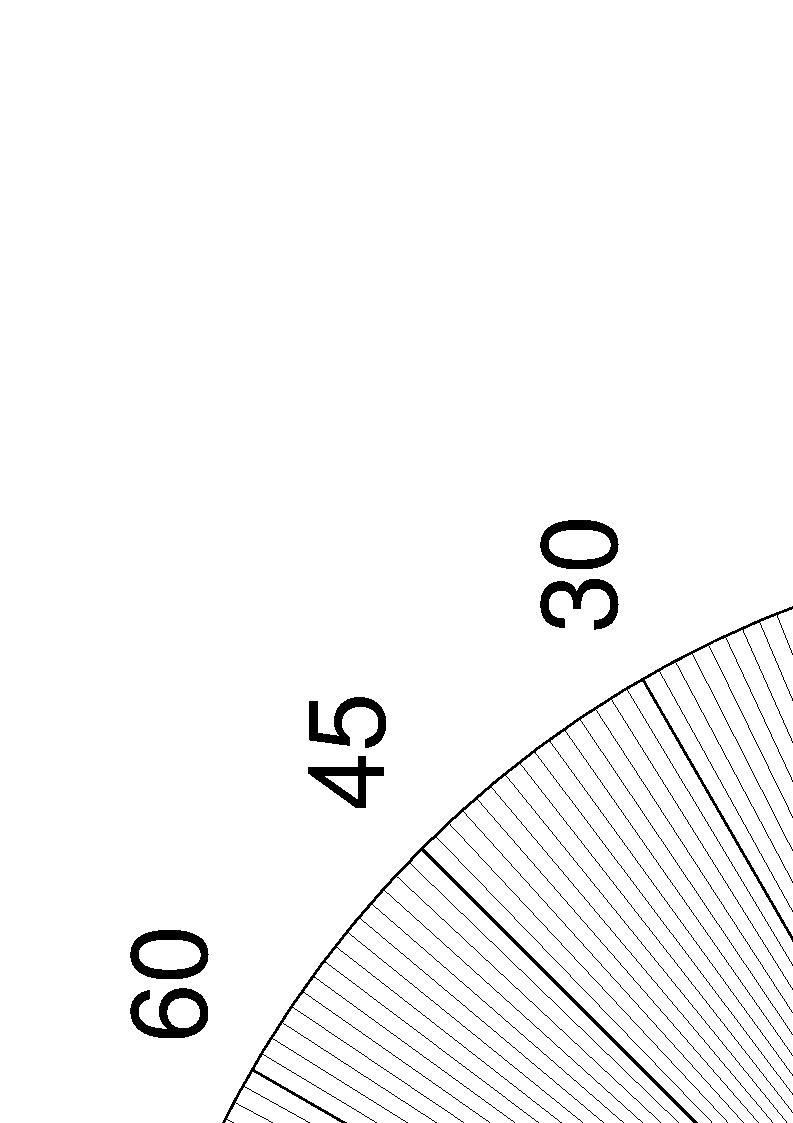
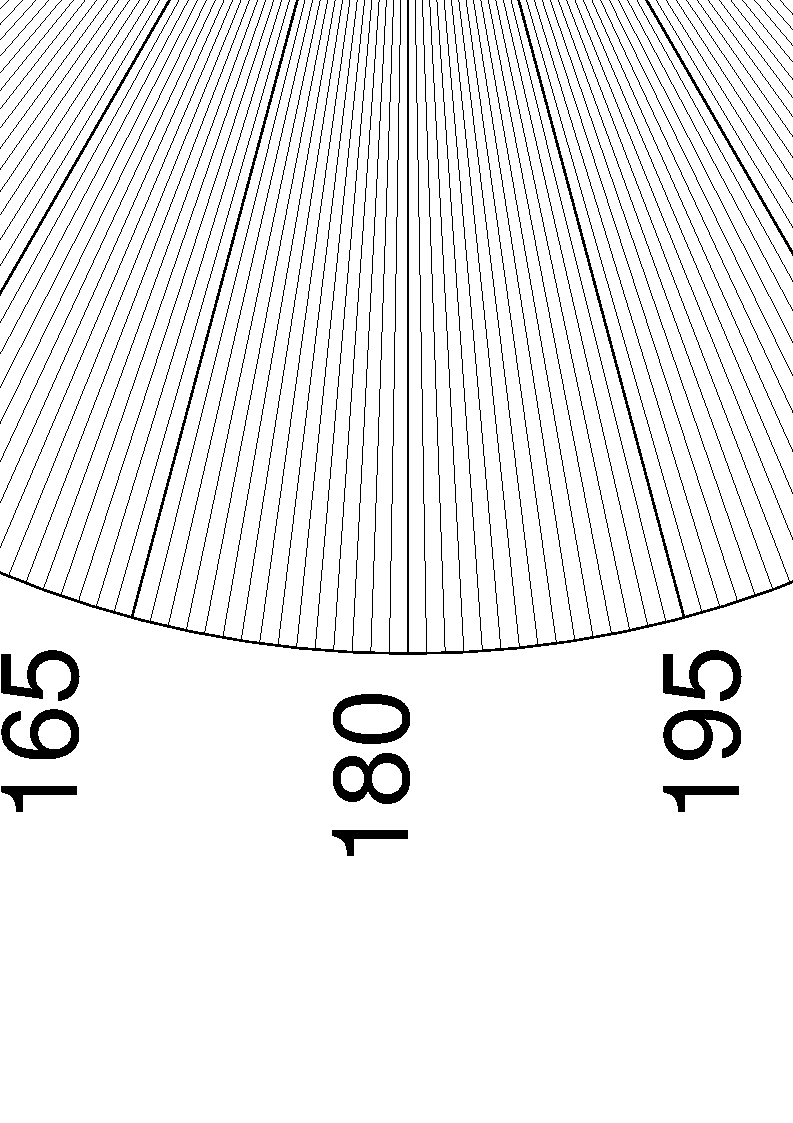
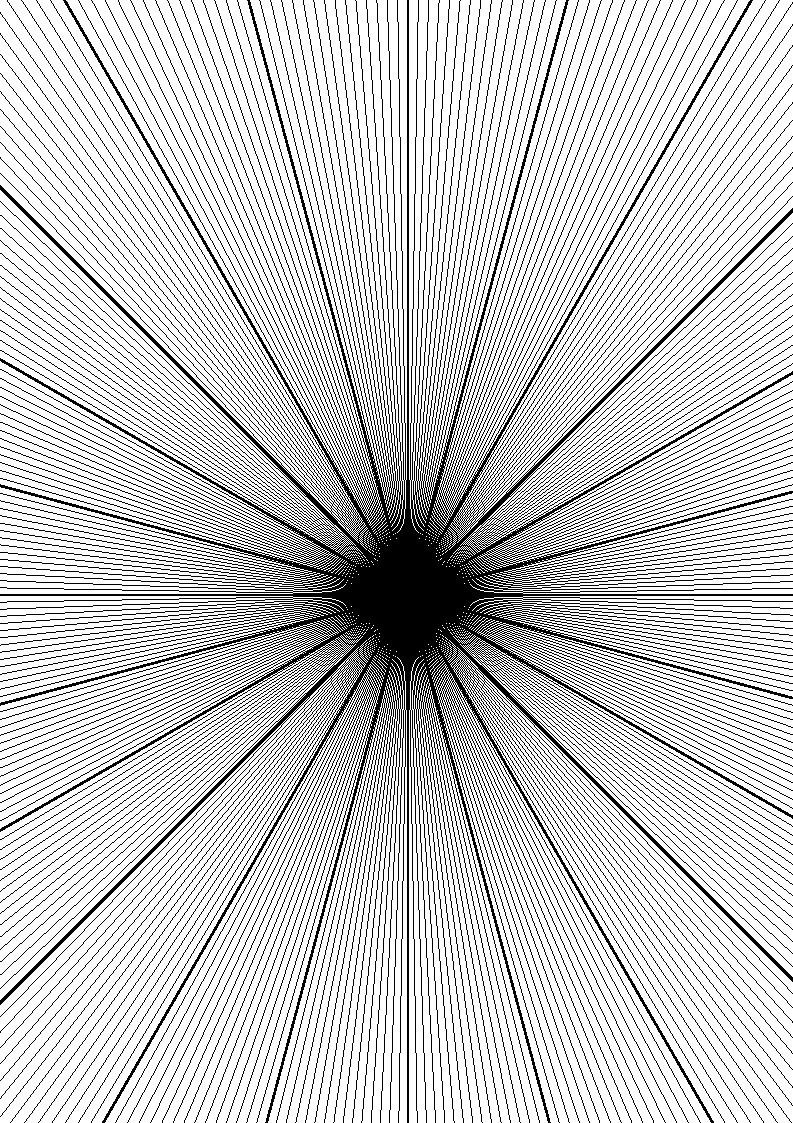
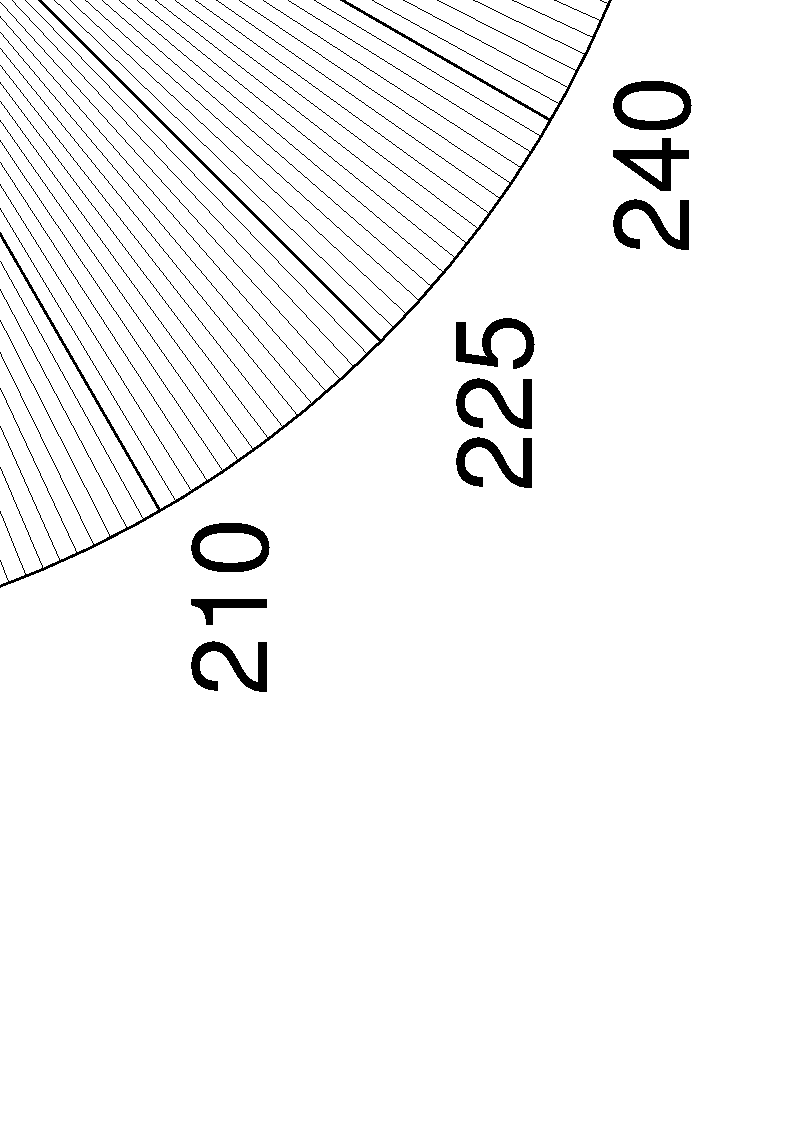
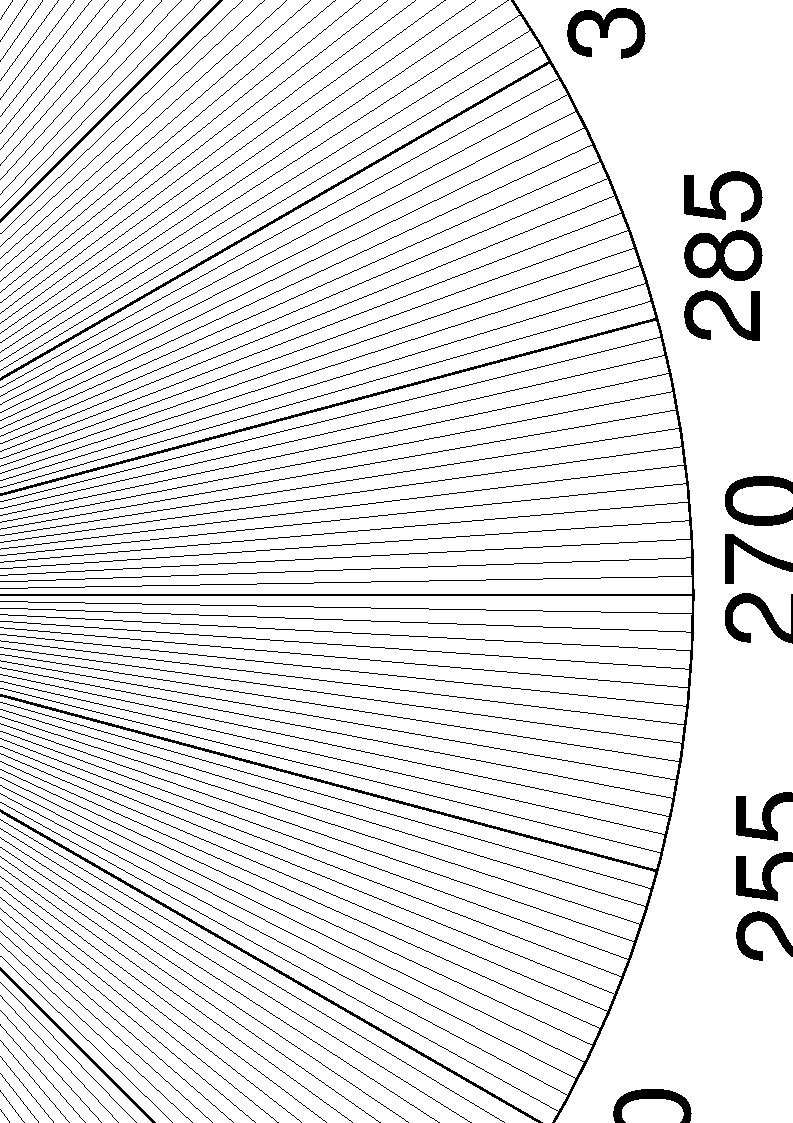
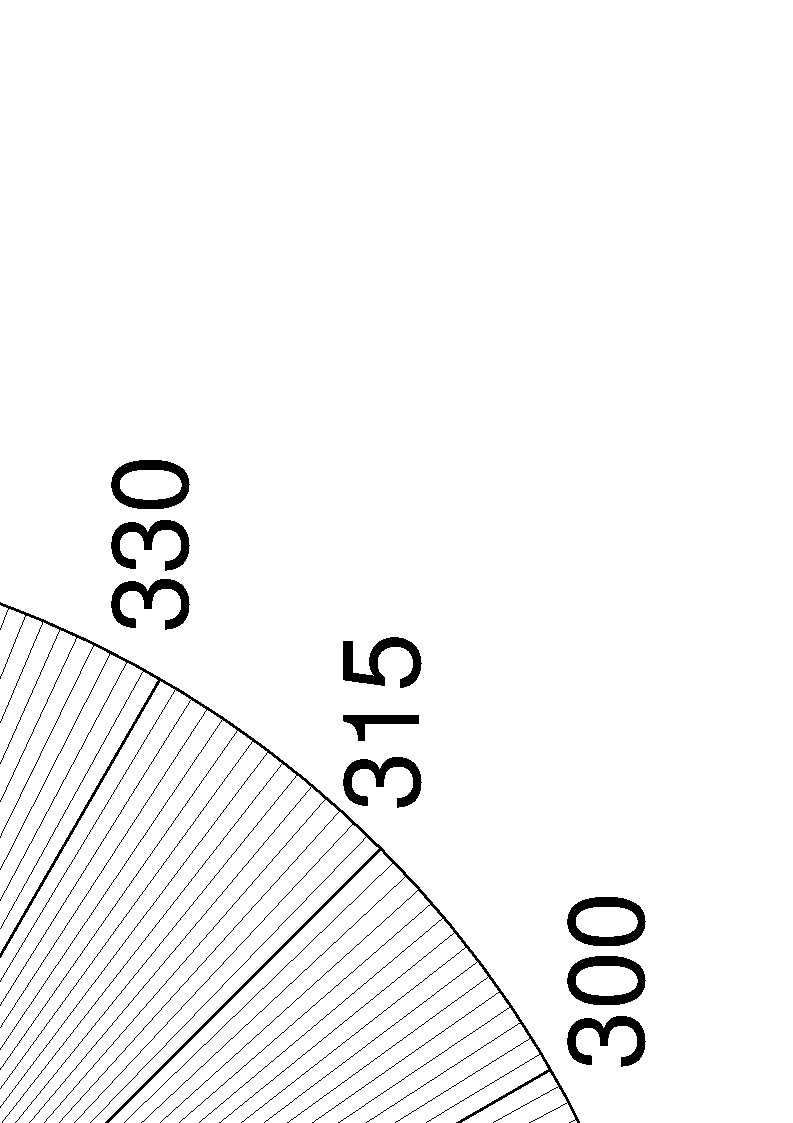
For this lesson you will need an angle poster and a giant protractor. The angle poster is a picture of a circle cut into 360 slices with every 15 degrees labelled. The poster prints as nine 8 1/2 by 11 inch sheets of paper. You will need to trim the edges and tape the pieces of paper together. You can download it as a single postscript file, or as the following nine GIF files:
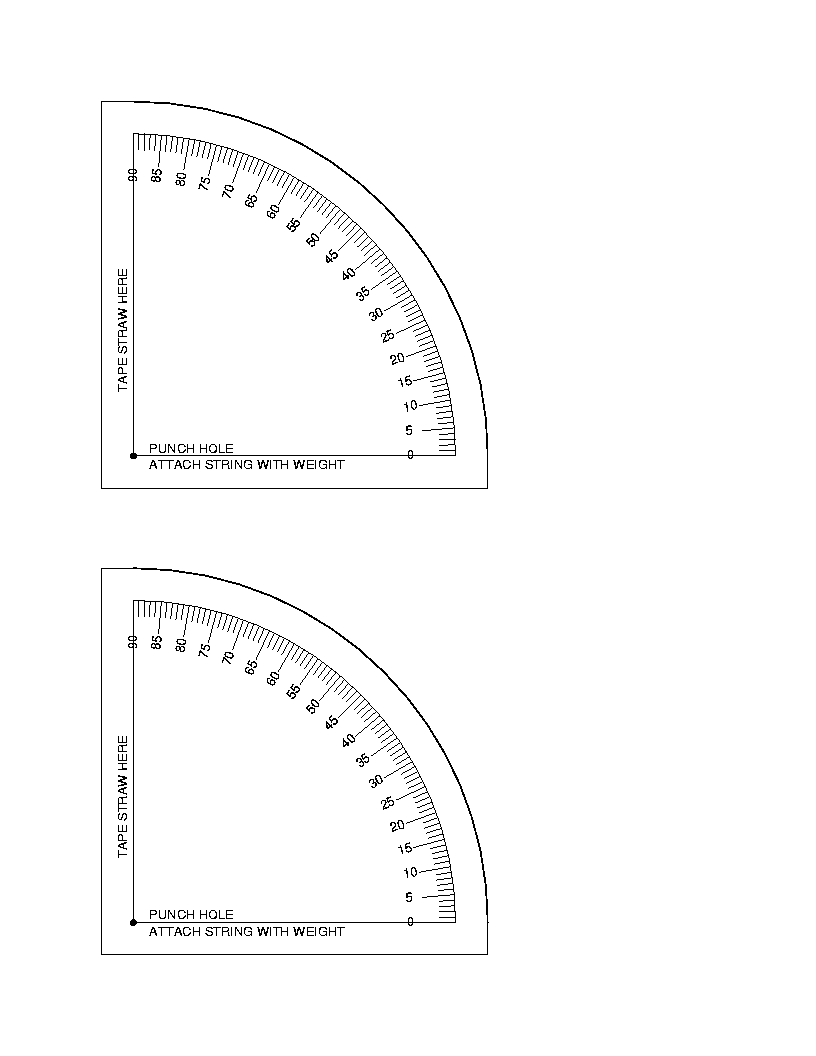
A one-page picture is myangle.gifTo make a giant protractor you will need a piece of cardboard approximately a foot (30 centimeters) square, two 4-foot-long pieces of 2-inch-wide lath, a 1/4-20 bolt at least 1 1/2 inches long, and a wing nut. On the cardboard draw a circle and mark angles at 15 degree intervals. Cut a 1/4 inch hole in the center of the circle. Drill a 1/4 inch hole close to the end of each piece of lath. Bolt the pieces of lath to the cardboard.
Introductory remarks: explain the concept of angle. Begin by asking students if they know what an angle is. If any of them do, ask them to explain in their own words. Define angle for them: the space between two lines that cross. Draw a picture on the chalkboard. Tell students that angles can be big or small.
Ask students what the word angle sounds like. Hint: It's part of your body. Invariably, they will figure out that you're referring to the ankle. Explain that the word angle comes from the word ankle, and that your foot makes an angle with your leg.
Introductory remarks: discuss the use of units in measurement. Ask students if they know how to measure things. They will all say yes. Ask them how they would measure the length of something. Ask them what the marks on the ruler stand for. (If I see puzzled looks, I'll ask them if the numbers stand for pink elephants, or something equally silly.) Explain that we measure length with inches, centimeters, feet, or meters, and these are called units of length.
Ask students how they measure weight. Ask what the numbers on the scale stand for. Explain that pounds or kilograms are units of weight.
Tell the students that we also have units for measuring angles, and that these units are called degrees. Explain that these are not the same as temperature degrees, even though we use the same word. Tell them that if you take a circle and cut it into 360 slices, each of those slices is one degree.
Measure students' angles. Show the students how to make an angle with your arms. Have each student come up and hold his or her arms out to make an angle. Use your giant protractor to measure each angle, and announce it to the class. Typically the students figure out that if they hold their arms down, they can make a large angle, and frequently the activity becomes a competition to see who can make the biggest one. It can be a little tricky finding the vertex of the angle because of the width of their shoulders.
Look for right angles. Explain to the students what a right angle is. Have them all stand up and make right angles with their arms. Ask them to identify right angles in their classroom. If this is getting stale, ask them to point out angles that are NOT right angles. Keep going until each student has pointed out at least one angle.
A long time ago, people used astrolabes to measure the positions of stars in the sky. Sailors used this information to navigate.
Make sure the students are all familiar with the definition of an angle, and know how to measure angles.
Putting your eye at the end of the straw nearest the curved edge of the pattern, look through the straw until you can see the object whose elevation angle you wish to measure. The washer will swing so that the string is vertical. Still looking at the object through the straw, grab the washer and hold it in position. Now remove the astrolabe from your eye, holding the washer. Read the angle at which the string crosses the scale.
For students who understand the concept of similar triangles, you can show them how to use the astrolabe to measure the heights of trees, or your school flagpole. Measure the distance on the ground from the object to the place where you are standing. With your astrolabe, measure the angle between the ground and the line to the top of the tree. Draw a right triangle with that same angle. Measure the height and base of that triangle. The ratio of the height to the base is the same as the ratio of the height of the tree to the distance from the tree to your position. (Don't forget to correct for your height.)
For this activity, each student will need paper, scissors, a ruler, a pencil, and a protractor.
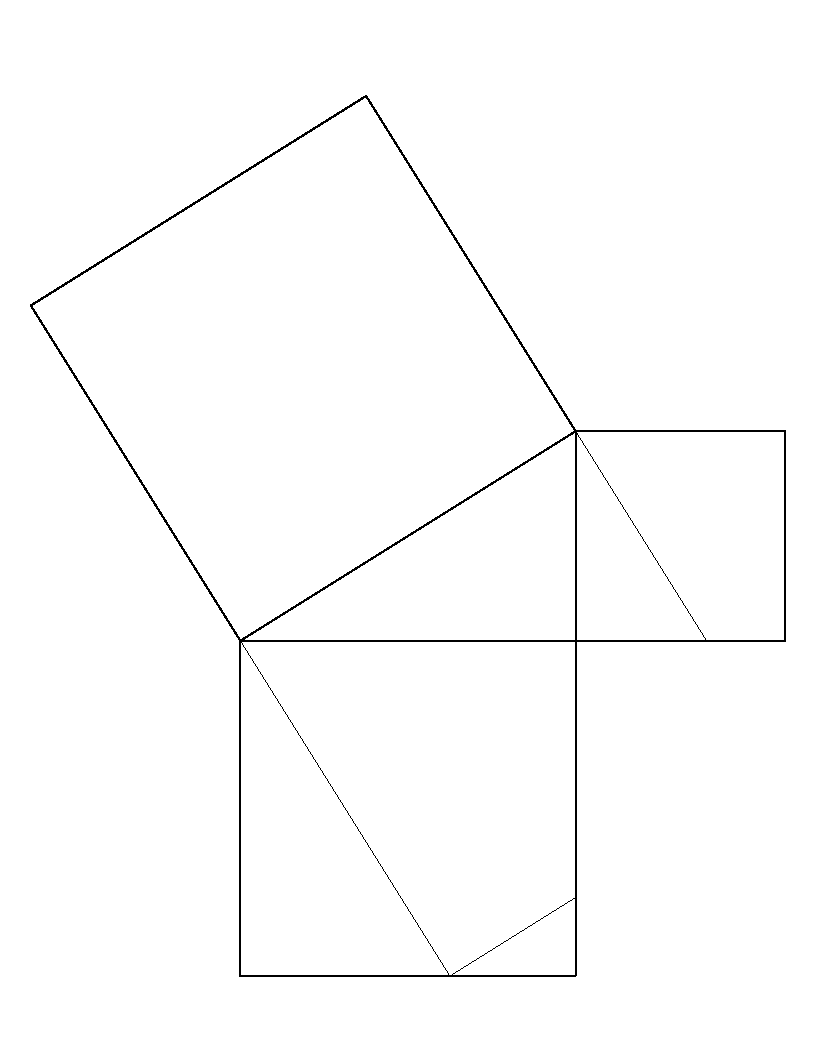
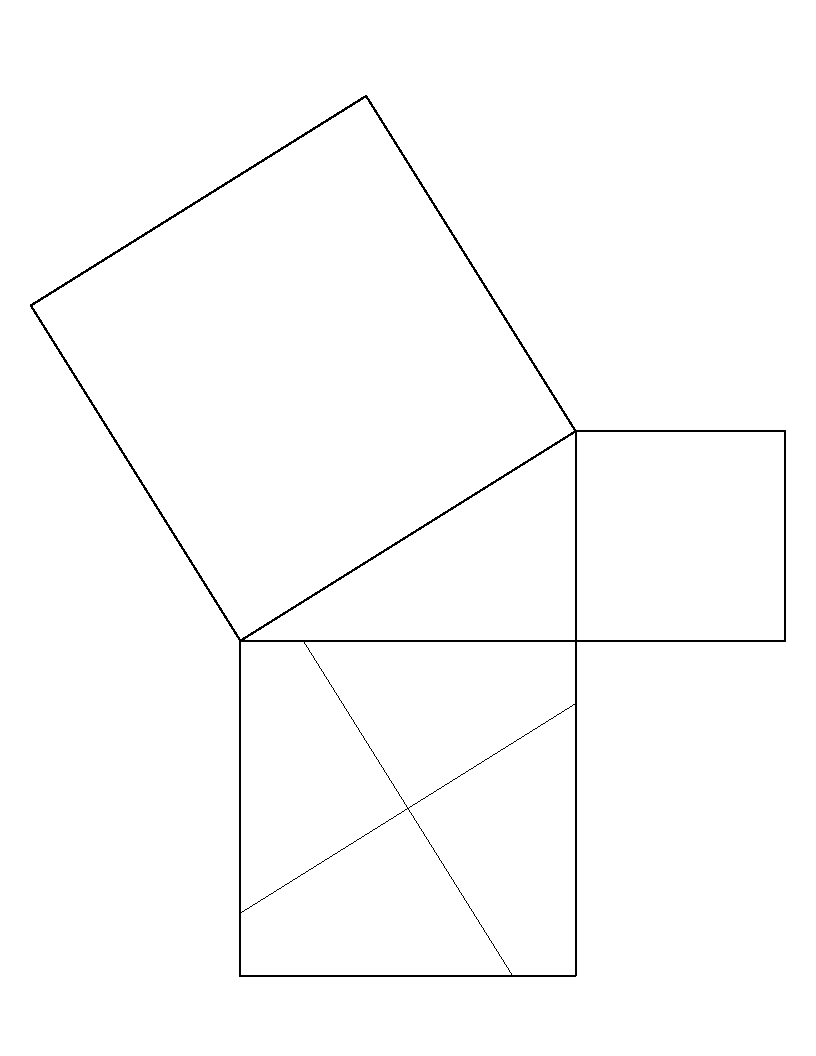
Each student will need copies of the two Pythagorean theorem patterns available as a postscript file or as GIF files: the Loomis projection and the Perigal projection. I suggest photocopying each of the patterns on a different color paper, so the students don't get the pieces mixed up. Students will also need scissors, and, if the patterns are on white paper, two different crayons.
It will make the activity less confusing if you only pass out one pattern at a time. Start with the one in which the small square is whole, and the medium-sized square is cut somewhat like a pinwheel. This pattern is called the "Perigal cut." The other is the "Loomis cut."